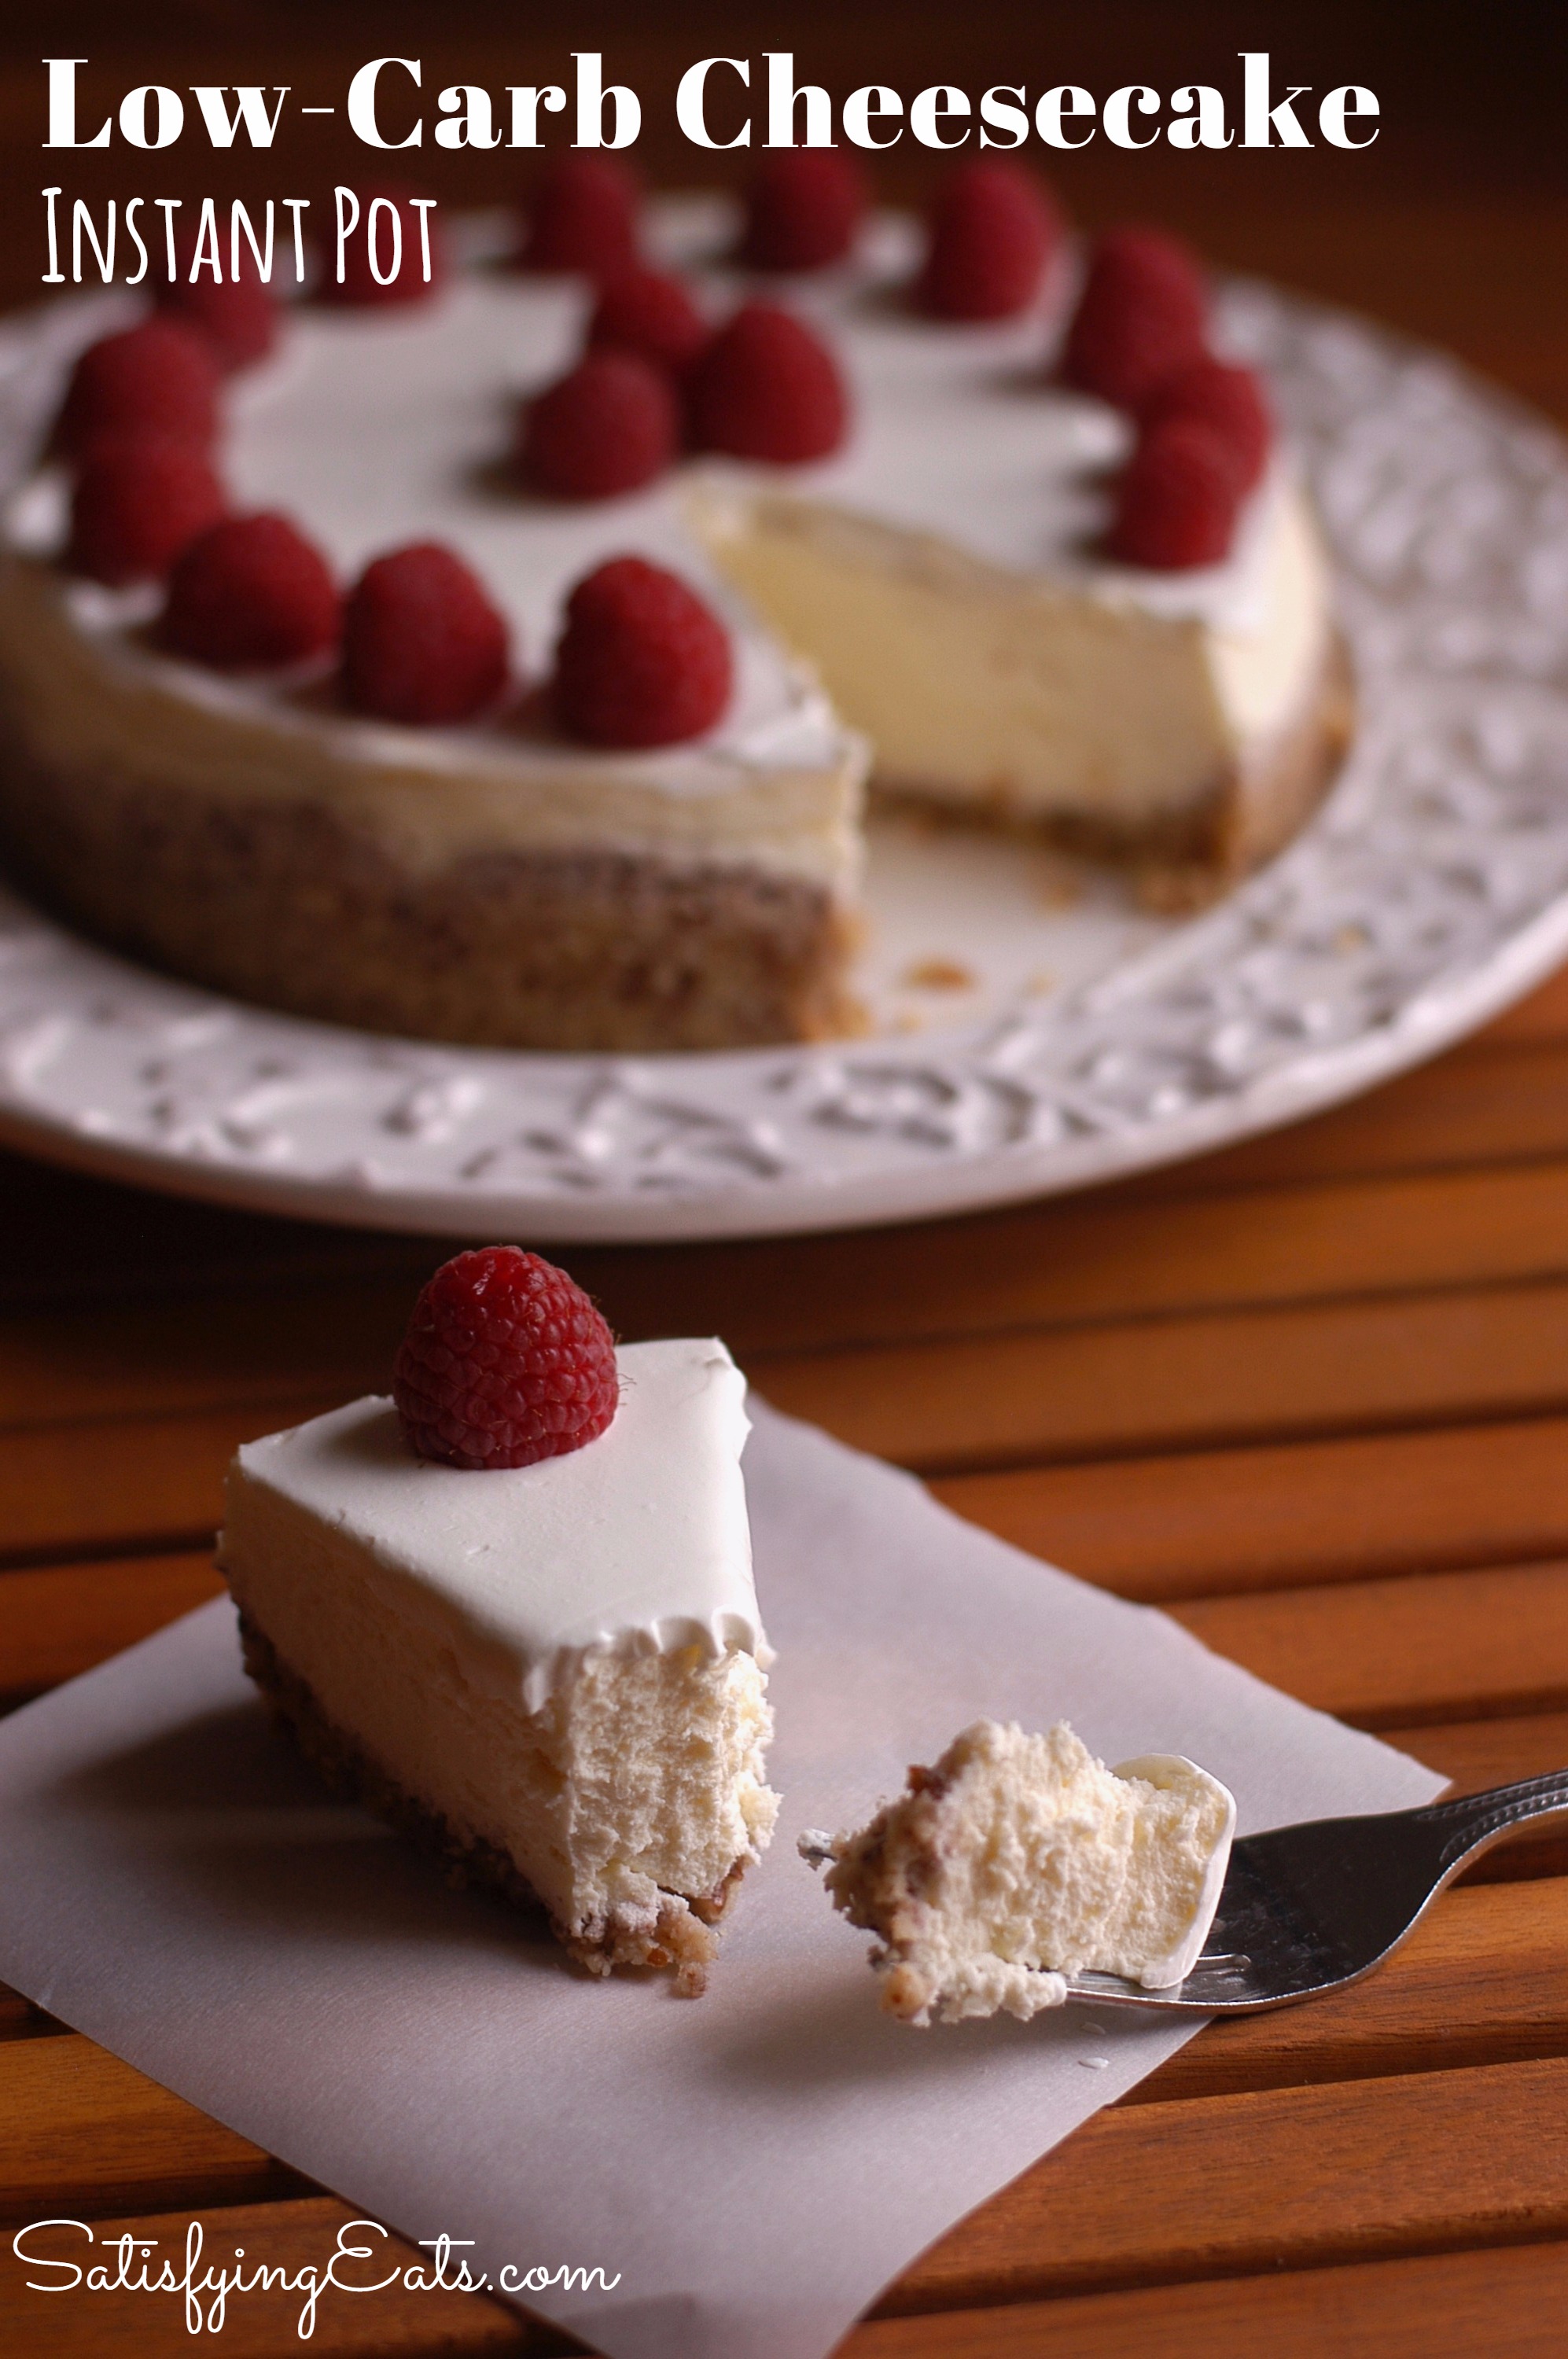
 Merry Christmas and Happy Holidays! I can’t believe the new year is upon us. After a crazy few years (3 kids born in less than 5 years), I am going to try my best to find balance again. I have missed sharing recipes and I have missed YOU! 🙂
Well, as promised, here is Melissa’s Famous Cheesecake recipe converted to Instant Pot. (If you don’t have an Instant Pot YET :), use THIS recipe to make it in the oven. The only addition is a bit of salt to the batter and I finished the cheesecake off with plain sour cream at the end.)
If I may say so… this recipe is easy and delicious! I normally pride myself in keeping my recipes very simple, but I felt that I needed to explain this recipe a bit more, since a lot of people are new to the Instant Pot. Instead of making lots of notes before the recipe, I made the recipe itself very detailed.
Salt of the earth…
Five years ago, my sister wanted me to create a cheesecake as her wedding cake. I prepared it at my mother’s house in Georgia and I planned on using Stevia, but wanted to finish out the sweetness with a “real” sugar, like honey. Mom only had sugar, so I thought I would add a few tablespoons to make sure it was the right sweetness for everyone at the wedding. Little did I know, that what I thought was sugar in my mother’s pantry was actually salt! Thank God I make it a habit to taste my recipes multiple times and never rely solely on a recipe…even mine! To my amazement, all I had to do to fix the batter was to add more sweetener. The cheesecake did have more carbs than I wanted it to (from the additional sugar), but I am just glad I was able to fix it and it tasted amazing. I would have cried if I had to start over and waste 3 pounds of cream cheese! The addition of the salt actually enhanced the flavor and brought out the sweetness. I didn’t tell my sister until after the wedding and she never knew I added salt to her wedding cake! 🙂 Now, I always double check and taste ingredients if I am cooking at my mom’s house! LOL!
Lessons learned: 1.) Salt is necessary. 2.) You will ALWAYS make mistakes in life, especially when cooking–sometimes, it’s from being in a rush, and sometimes it’s out of your control. The point is: mistakes are going to happen. You just have to choose to learn from them.
Now, back to this AMAZING recipe!


Substitutions & Brands
Like with all my recipes, feel free to use whatever sweetener you prefer. I prefer to use 99% stevia and a small amount of another sweetener such as tupelo honey or coconut sugar. This is a personal preference. Adding too much stevia makes the end result bitter and I don’t want that.
The key is to taste the batter and make sure it is to YOUR liking before you bake. Always taste every layer of a recipe. If each layer is well seasoned/sweetened to your liking, then the final product will be delicious!
- Crust: Feel free to use other nuts or seeds (such as walnuts), or use sunflower seeds/flour if you need nut-free, as well.
- Toasting the pecans before adding them to the almond flour is not mandatory, but if you do you’ll get that toasted nut and browned butter flavor in your crust. I felt this needed to be done since the crust wasn’t going to be going in the traditional oven.
- Sour Cream: I used Daisy brand full fat sour cream because it only has 1 ingredient: Cream. You could also use heavy cream if you like but I like using sour cream (and it is cheaper than heavy cream)! 🙂
- Cream Cheese: Be sure to read the ingredients. I use Philadelphia Brand, it only has 5 ingredients. Other brands may be cheaper but they just don’t taste the same.
Here are a few images of how to get your cheesecake ready for the Instant Pot!
-
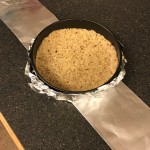
- Aluminum foil sling and cheesecake wrapped with more foil.
-
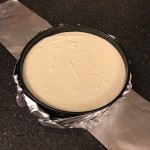
- Pour filling into crust.
-
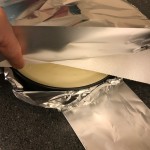
- Paper towel and foil top.
-
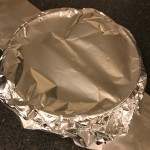
- Ready for Instant Pot.
-
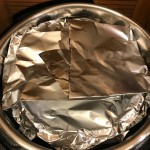
- Cheesecake supported by sling in IP and excess folded over.
-

- Set for 30 mins on Manual then allow pressure to release naturally.
Merry Christmas to you and yours and I hope you enjoy this delicious recipe! Let me know what you think of your Instant Pot and of the recipe in the comments! Also, thank you for your support. If you want to continue to see new recipes, including Instant Pot ones, please let me know in the comments. Sharing my recipes also lets me know that you want to see more!

 Check out these items I hand picked for you from Amazon:
Per Serving: 150 Calories, 11 grams Fat, 6 Carbs, 1 gram Fiber, 13 grams Protein
Crust
- 3/4 cup chopped pecans
- 3 tablespoons salted butter
- 3/4 cup almond flour
- 5 servings Stevia Select Stevia (or sweetener of choice, to taste)
- 1/8 teaspoon sea salt
Filling
- 16 oz. cream cheese, room temperature
- 1/2 cup Daisy sour cream
- 1/2 tablespoon vanilla extract
- 1/8 teaspoon Stevia Select Stevia (or sweetener of choice, to taste)
- Level 1/8 teaspoon sea salt**
- 1 whole egg plus 1 egg yolk
- 1 tablespoon additional sweetener (only if needed to taste)
Extra
- 1/3 cup sour cream to topping
**If using table salt, add less.
Prepare Crust
•Add almond flour to medium, heat safe bowl and set aside. To a medium sauce pan, add butter and chopped pecans. Toast nuts over medium heat until aromatic and butter has browned but not burned.
•Pour nuts and butter over almond flour and stir. Then add stevia and salt. Stir and taste for sweetness and saltiness and adjust if needed. Pour into 7 inch spring form pan and set aside and allow to cool before handling.
Prepare Equipment
•Pour 2 cups of water into inner pot of the Instant Pot. Place steamer rack inside Instant Pot and select "Saute'" to allow water to get to temperature while preparing recipe.
•Prepare a sling to easily get the cheesecake in and out of the Instant Pot by tearing off a 2 foot piece of aluminum foil and folding it in thirds lengthwise to make it thicker. Set aside.
•Also tear off 2 additional pieces of foil (approximately 9-10" long) that will wrap the cheesecake from the bottom and the top.
Prepare Filling
•In a medium bowl, blend cream cheese until smooth. Then add sour cream, vanilla, salt and stevia. Blend well. Add whole egg and egg yolk. Blend until batter is smooth but do not over mix. Taste for sweetness and adjust if needed and add additional sweetener if desired.
•Now that crust ingredients have cooled, press mixture into the bottom of the spring form pan with hands until flat, then pour cheesecake mixture over crust.
•Place piece of aluminum foil on the countertop followed by a paper towel. Then place the cheesecake on top. Mold the foil around the sides of the pan. This will keep water out. Lastly, top the cheesecake with another paper towel (I used 1 select-a-size) and top with the last piece of foil. Mold the foil around the cheesecake to keep out the water.
•Place the foil wrapped cheesecake in the center of the sling made earlier. Carefully lower the cheese cake into the Instant Pot and fold the excess foil over the top of the cheesecake. Place the lid on the Instant Pot and lock.
•Turn OFF Instant Pot and then press "Manual" and adjust time to 35 minutes. Be sure Vent is CLOSED.
•Once 35 minutes are up and the Instant Pot timer goes off, allow the cheesecake to remain in Instant Pot for 25 minutes. Next, unlock lid and using sling, remove cheesecake. Remove the foil and paper towel. Dry off foil if needed and replace foil on cheesecake.
•Place cheesecake in refrigerator at least 8 hour or overnight. A few days in the fridge is even better.
•After this time, the cheesecake should have pulled away from the pan. If not, run a knife around the edge before removing.
•When ready to serve, add sour cream to top of cheesecake. I chose not to sweeten the sour cream layer and it was the perfect pairing to the sweet filling and slightly salty crust. Serve as is or with fresh fruit.