 When I say easy, I mean EASY! Beef Jerky has always been our go-to snack for long trips but the ingredient list always left me hanging my head in shame! 🙁
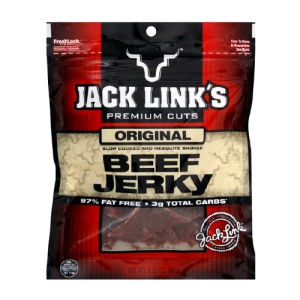 Check out the ingredients in this popular brand:
Beef, Water, Sugar, Less than 2% Salt, Corn Syrup Solids, Dried Soy Sauce (Soybeans, Salt, Wheat), Hydrolyzed Corn and Soy Protein, Monosodium Glutamate, Maltodextrin, Flavorings, Sodium Erythorbate, Sodium Nitrite. Contains wheat and soy.
Now, after making my own jerky, I profess that I will NEVER buy it again!! Not only will I save myself from eating soy, trace amounts of wheat, msg, corn, flavorings (whatever that means) and chemical nitrates, I will save LOTS of Money too!!
What is Beef Jerky??
Beef jerky is basically marinated meat that has been dehydrated. It’s really that simple. There are a few ways you can dehydrate the meat:
- Food dehydrator
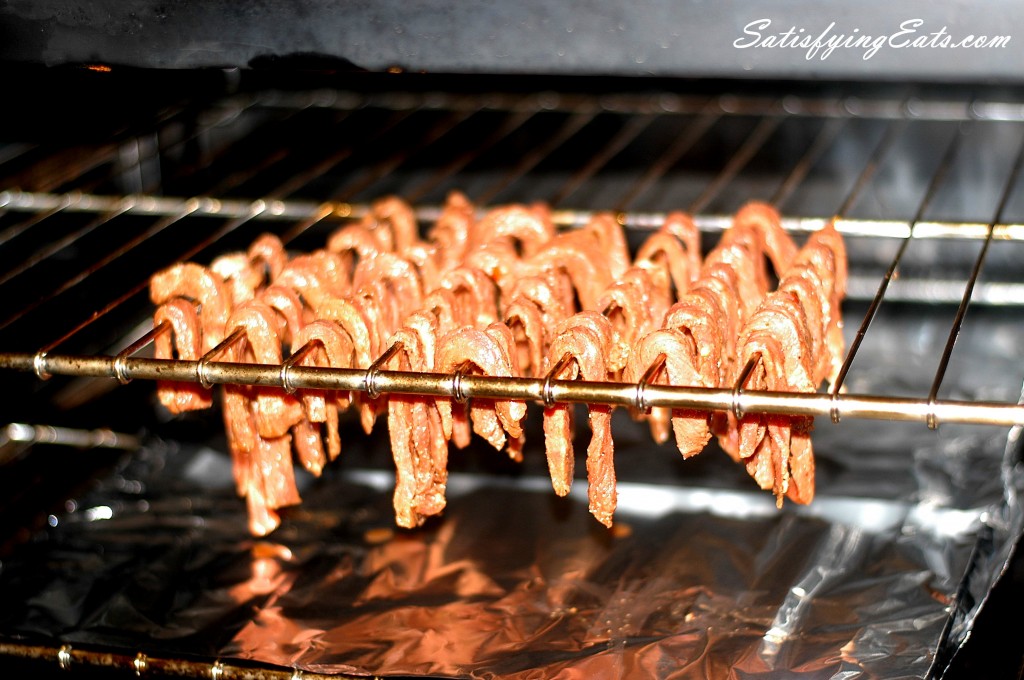
- Warm Oven (I will use this method.)
- Using a box fan to dry out the meat. (This is how Alton Brown makes his.)
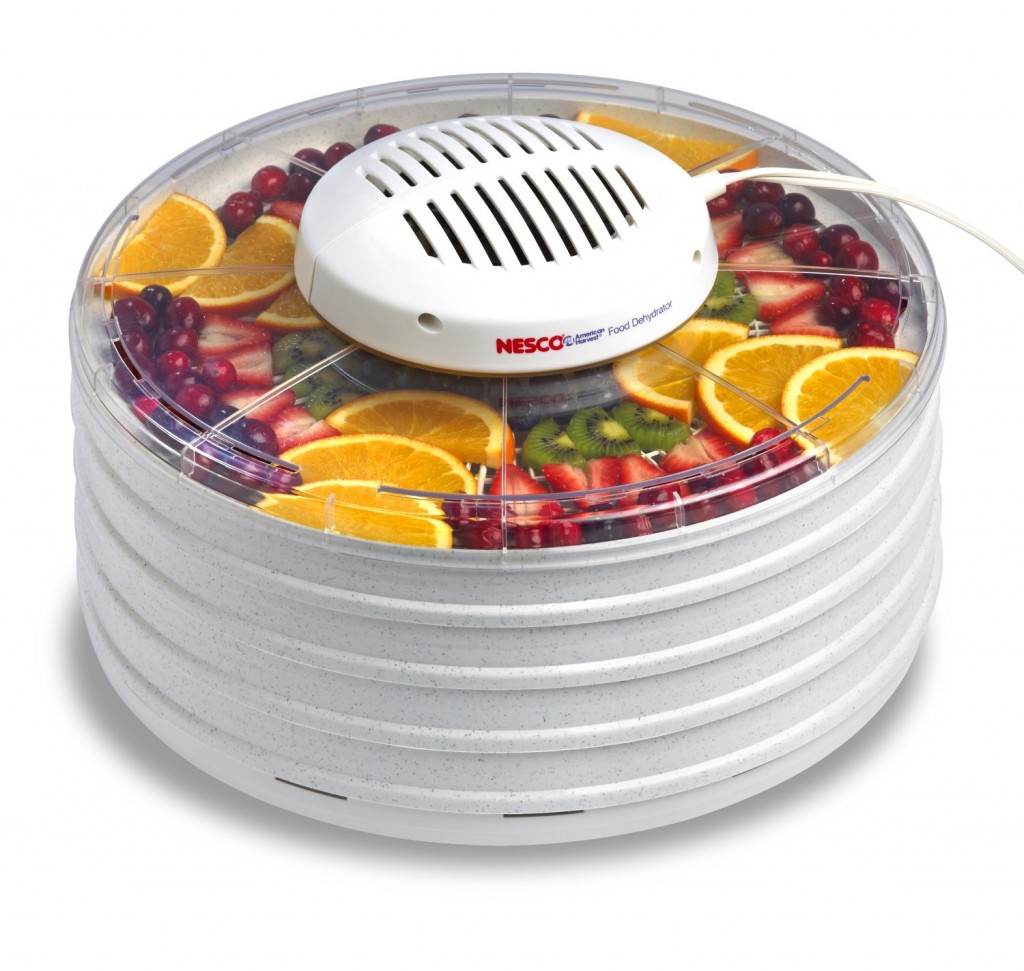
The food dehydrator makes jerky making pretty easy. Just place the marinated meat on the trays and turn on the dehydrator. Done! You can also use a food dehydrator to make fruit leather (fruit roll ups) but purchasing an additional tray that allows you to spread pureed fruit on the tray and it simply dries out into a fruit leather. This is a great investment, especially if you have kids that love fruit roll ups!
I have a food dehydrator but I also found that using my oven worked well. I have a professional gas range and the pilot light alone was enough to dehydrate the meat over a 24 hour period. You can also use the warm setting on your oven. If the oven temperature is too high, you will end up with long strips of charcoal in a few hours so be careful!
Save $$$ making your own Jerky
To help you figure out how much money you will save by making your own jerky, I thought I would show my breakdown of actual cost. If you purchase 2 ounces of conventional jerky in the store you will pay about $2.50 an ounce. If purchasing organic beef jerky, get ready to pay as much as $7 per ounce.
Note: If using 1-1/2 lbs. of raw meat, expect to yield 1/3 pound of jerky or roughly 1/2 lb or 8 oz of finished jerky.
What it cost me to make jerky:
Grass-fed round steak: $9 for 1.5 lbs (I used steak from processed cow that I already had in the freezer.)
1/4 cup Coconut Aminos: $0.87
1/4 cup Worcestershire Sauce: $0.50
1 tbsp. liquid smoke: $0.75
1-1/2 tsp fine salt: Almost free
1 tsp. black pepper: Almost free
Total Cost: $11.12 for 8 oz Jerky
Cost per Ounce is $1.39 per ounce of finished jerky compared to $2.00 – $2.50 per ounce if you buy the chemical and soy filled kind. If purchasing grass-fed beef jerky, you will pay even more!
The batch I made using Balsamic Vinegar was even cheaper because I have TONS of it already in my cabinet.
Quality & Versatile Ingredients
What I really like about making homemade jerky is that you can use what ingredients you have on hand. Here is a list of essential ingredients that you will need to make jerky:
The Meat: Traditional jerky is made using flank steak. I personally prefer using thin strips of round steak. Some people choose to cut meat along the grain of the meat. I however like cutting my jerky against the grain and into thin strips to make it more tender to eat. Whatever meat you use, be sure it is extra lean and NO marbling! Deer meat would also be a great choice because of how lean it is. If you prefer cutting up your own meat, check out Our Top Pick for Meat Grinder here.
The Acid: Surprisingly, the acid used in the marinade doesn’t have to be traditional soy sauce which we know contains wheat and soy. Other acids that can be used:
- Coconut Aminos: Is made from the sap of coconut trees. It is less salty than the other acids but also give a bit of sweetness to the jerky.
- Tamari sauce: Is a wheat-free soy sauce. If using Tamari, omit the salt in the recipe.
- Bragg’s Liquid Aminos: Is another soy sauce alternative that is wheat free. Bragg’s is naturally salty so no need to add extra salt.
- Balsamic Vinegar: Yep, this is the stuff you have in your pantry. It worked GREAT when used in the marinade!
For those who are still transitioning to a wheat-free diet and still have some soy sauce around, soy sauce can also be used but I highly recommend looking into the other soy sauce alternatives that don’t contain wheat!
Extra Flavorings: Worcestershire sauce is great in the marinade because it adds a punch of extra flavor that comes from the anchovies and extra vinegar. A good quality Worcestershire sauce should NOT contain gluten, soy or HFCS. I personally use Lea and Perrins Brand (their original kind). It does contain “natural flavorings” but is the best that I can find that is readily available. You can also make a homemade version using THIS recipe. Fish Sauce is also another alternative that is packed full of flavor and would be perfect in this recipe.
The Smoke: Good jerky needs good liquid smoke. Check out THIS blog post for more info on the topic. I found that Wright’s Hickory Liquid Smoke actually contains liquid smoke not smoke flavoring like most brands do.
The Seasonings: I chose to keep it simple and add black pepper, extra salt and some of my Cajun Seasoning. Feel free to add a little sweetener (honey would work great) or even some red pepper flakes if you want extra spice. Love garlic?? Add 4 cloves (or more) of crushed garlic to the marinade.
Real EASY & Affordable Beef Jerky
I hope knowing my tips and using my recommended ingredients, you can be making healthier and cheaper jerky in no time! The great thing about this recipe is that you can use what you have on hand and even change it up every time you make it to suit your taste!
If this blog post doesn’t inspire you to make your own jerky, at least consider purchasing a healthy brand like this one!
Note: To print recipe, highlight recipe below and right-click and select print.
Real EASY & Affordable Beef Jerky
Makes approximately 8 ounces of jerky
1-1/2 lbs. lean round steak, London broil, (or roast), trimmed of any extra fat
1/4 cup acid (I used Coconut Aminos. See notes above for other options.)
1/4 cup Worcestershire Sauce (or use THIS recipe)
1 tbsp. liquid smoke
1-1/2 tsp. fine salt
1 tsp. black pepper (or more)
1 tsp. Cajun Seasoning (optional)
Extra Seasonings (See post above)
Directions
To prepare meat: Using a sharp knife, slice the steak into 1/4-1/2 inch uniform strips and place into a gallon zip top bag.
NOTE:To make the steak easier to slice, you can place it in the freezer for an hour or two. This will harden the meat slightly which will make cutting easier. Also, if using a round roast, slice against the grain into smaller 1/4-1/2 inch steaks before slicing into smaller strips.)
In a small bowl, add the ingredients for the marinade and stir. Pour marinade over meat and seal gallon bag well. Massage marinade into meat and refrigerate meat overnight. When ready to dehydrate, pour the meat and marinate into a colander over the sink to separate the meat from its juice. Using a paper towel (or dish towel), pat the meat to remove any excess moisture.
Oven Method: Place foil on the bottom rack of oven. This will collect any moisture or marinade that comes out of the meat. Take the strips of prepared meat and either lay them across the racks or just over one grate on the rack (as pictured above). Do not let the individual pieces of jerky touch. Close oven door and turn oven to warm or lowest temperature. Check jerky in 8 hours, then after 12 hours and allow to “cook” until jerky is completely dehydrated and when torn, there is no red meat on the inside and the meat is “tough” to tear. This can take as much as 24 hours but be sure not to have oven temperature set too high or it will turn to charcoal. Once completely cooked, then cooled, store in airtight container. Jerky will keep for a few months but I promise you won’t have this batch in a few weeks.
Dehydrator Method: Place strips of meat on dehydrator trays, being sure not to overlap. Turn on machine and allow to dehydrate for 4 to 24 hours. The trays up top will be ready first.
NOTE: Dehydrating time will be based on the thickness of the jerky and the exact brand of dehydrator used.
Nutrition Estimation: 1 oz of dehydrated jerky: 80-100 Calories, 1-3 grams of Fat, 0-1 Net Carbs, 12-14 grams Protein
~~~~~~~~~~~~~~~~~~~~~~~~~~~~~~~~~~~~~~~~~~~~~~~~~~~~~~~~~~~~~~~~

Also be sure to check out my two cookbooks, Satisfying Eats & Comforting Eats, NOW available in eBook format through Amazon and the spiral bound versions are available here on my blog.
Happy Cookin’!
Melissa
