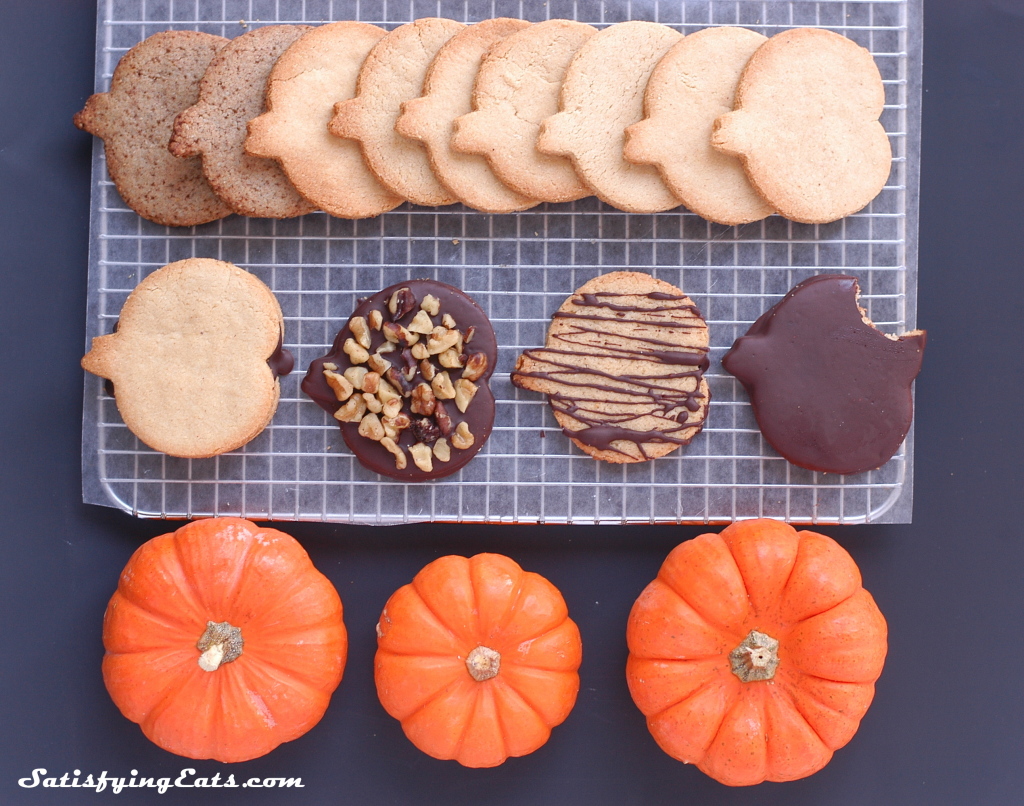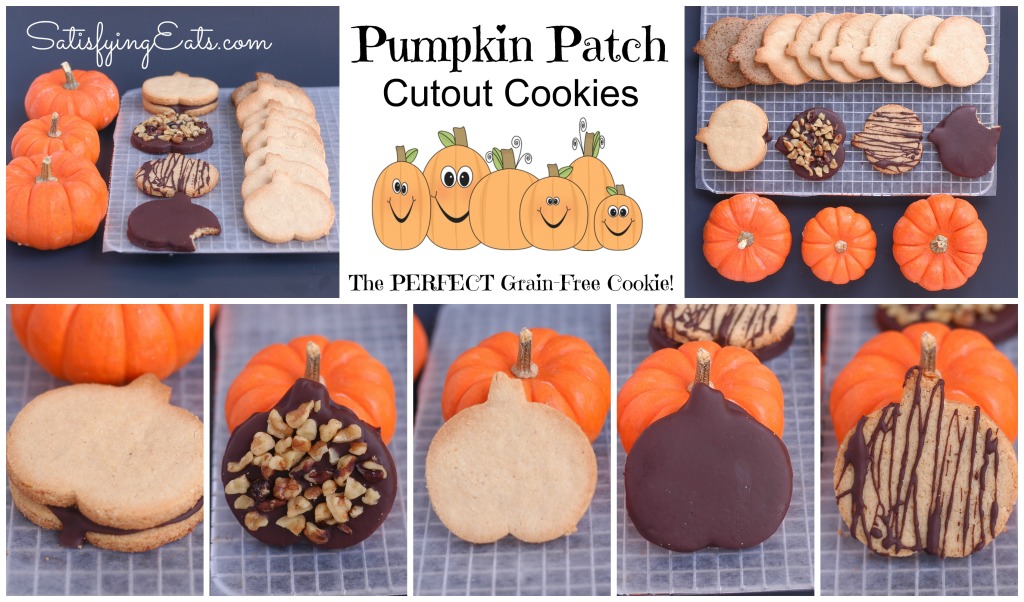
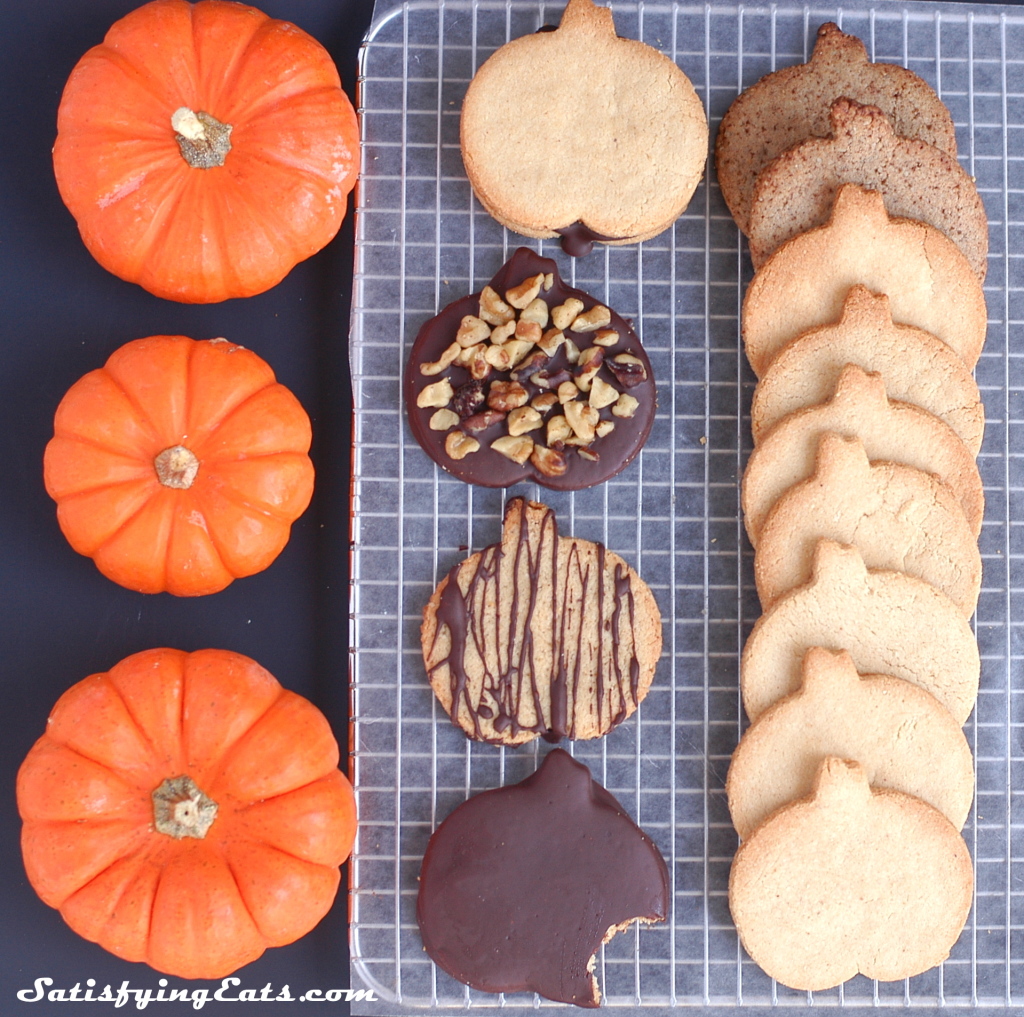
 I am pretty excited about this recipe for a few reasons. First, these grain-free and low-carb cookies taste DELICIOUS and the dough is PERFECT for rolling and cutting into cute shapes! The second reason I am excited is because I haven’t posted a new recipe in almost a month and I have missed y’all so much! 🙂 It seems the boys have kept me hog tied and have not let me get much done but I really NEED to share recipes! I love eating, lol, and cooking, but part of the fun of creating recipes is being able to share them with others. If you are my neighbor or friend who lives near by, I find great pleasure in feeding you and if you are my friend via www.satisfyingeats.com, I love sharing my recipes with you so you can have a happy moment too!
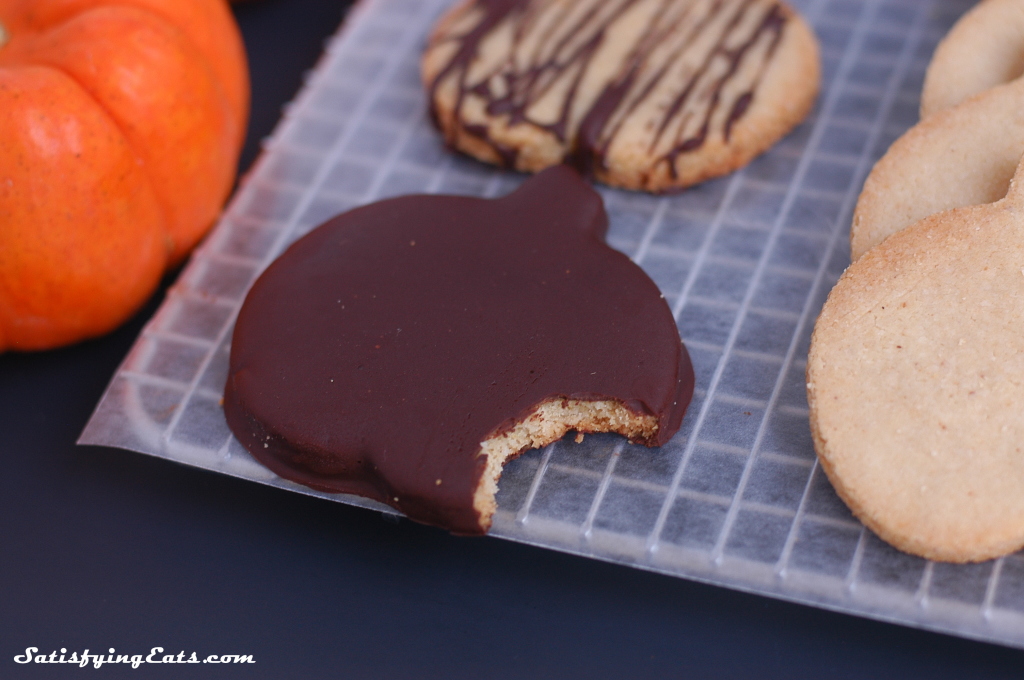
Pumpkins, angels, Christmas trees, hearts, Easter Bunnies, really, the list of shapes could go on and on with possibilities for this cookie recipe to fit any holiday occasion making them perfect for a Christmas cookie gift box.
Warning. This is a LONG post but I promise it is worth the read! I encourage you to read it in it’s entirety, especially if you are new to grain-free cooking or are uncertain about what sweeteners and ingredients to use. I want everyone to have perfect results!
First, lets talk about sweeteners.
All about Sweeteners
As I have stated before, in the last 20 years of pursuing health, I have come a long way when it comes to the sweeteners I use. I went from white Dixie Crystal and powdered sugar as a kid to a “healthier” form of sugar, Splenda, in college. I was then introduced to stevia about 10 years ago. I wasn’t as particular about what kind, as long as it tasted good and was a good price. I would use stevia to sweeten recipes and supplemented with evaporated sugar cane crystals. Then about 3 years ago I went to ALL Stevia, KAL brand to be exact, and then started supplementing with small amounts of raw honey and coconut sugar. (Read here why I don’t use artificial sweeteners or sugar alcohols and choose to use small amount of natural sweeteners.)
Over the past 10 months I have been experimenting with different brands of stevia after learning that KAL Pure Stevia now contains maltodextrin (corn) as a filler and is made in China. 🙁
First I tried the Organic KAL Stevia which does NOT contain maltodextrin and it was ok but not as good as the original KAL. By itself, Organic KAL Stevia does have a slight bitter taste if used in larger amounts but is great if adding a little bit of coconut sugar or honey to finish out the sweetness. I then started using Trader Joe’s Organic Stevia. I like it. It is nowhere as sweet as KAL brand and as long as I could add a little bit of other sweetener, it is fine.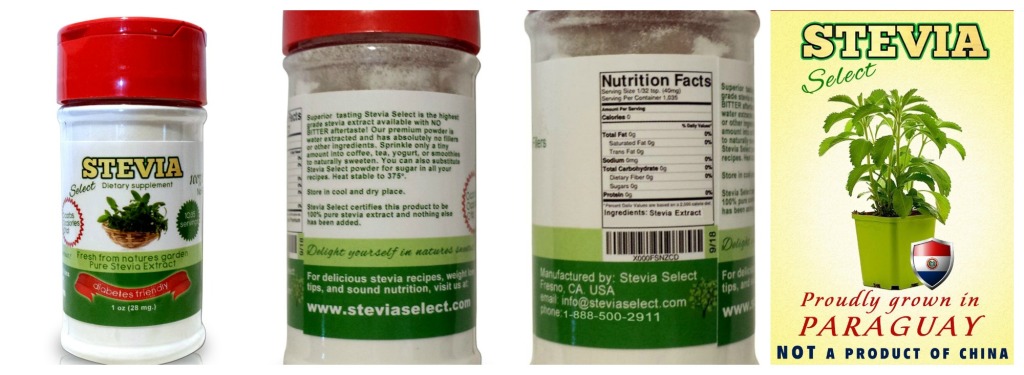
My most recent discovery came from the recommendation of a reader. Stevia Select is the brand. It still takes about twice as much as the original KAL stevia but you get an intense sweetness without any bitter aftertaste unlike when using Organic Trader Joe Stevia, which sometimes needed larger amounts of additional sweetener. I really like the Stevia Select and will start using it when creating any new recipes. In fact, I like it so much that I called their customer service and spoke with someone last night! They are a family owned company right here in the great USA! I hope to be hosting a giveaway of some of their products really soon!
My preferred sweetener combination is Stevia Select and powdered coconut sugar (coconut sugar that has been placed in a Magic Bullet type devise and ground it to a powder). But as stated in every recipe, use your preferred sweetener, to taste. If you like a different brand of stevia, use it. If you like a different sweetener all together and are happy with the results, use it! I am just giving you my suggestion and how much I use of a certain brand to my liking.
Since I have a new Stevia to test, I thought I would use this cookie recipe to compare these different stevia brands. I also made them using only coconut sugar and raw honey. I realize some people don’t have a fondness for stevia and are not as sensitive to natural sugars.
Image Source.
Sweetener Options and Combinations
I have made at least 8 batches of these cookies to get the perfect texture and sweetness. Below are some of the sweetener combinations I used with tips:
- 1/4 tsp. Stevia Select plus 1 tbsp. powdered coconut sugar, to taste
- 1/8 tsp. Organic KAL Stevia plus 1 tbsp. powdered coconut sugar, to taste
- 1/4 tsp. Organic Trader Joe Stevia plus 2 tsp. Wheat-Free Natural Market Sweetener (blended into a fine powder) or other granular sweetener of choice, to taste
- 2 tbsp. honey & 2 tbsp. powdered coconut sugar, to taste (Be sure to add an additional 1 tbsp. of arrowroot powder and 1 tbsp. additional coconut flour to make up for the excess moisture from the honey.)
- YOUR CHOICE: Use your favorite granular or powdered sweetener. If it is in bigger crystals, be sure to turn it into powder first so that the cookie dough will be sturdy enough to cut and move. This also makes a prettier cookie with no discolorations some the caramelized crystals.
NOTE: All of the sweetener combinations above will result in a hard cookie except choice #4 with honey. The cookie will still taste DELICIOUS if you use honey but it will be a more tender cookie.
At the end of the day, you have to use what sweetener you like and feel comfortable with. We are all at different walks of life and in different seasons of pursuing health so choose what sweetener you feel comfortable feeding your family.
Nut-Free Variation
For most recipes, you can substitute ground raw sunflower seeds in the place of the almond flour in equal amounts. However, for this recipe, you will need to add an additional 2 tbsp. of arrowroot powder. This will help thicken the dough so that the cookies can be cut out of the dough. If the dough still seems wet, feel free to add 1 more tablespoon of coconut flour. This recipe is pretty forgiving but the key is to have a stiff enough dough so it will be easy to transfer the cut cookies to your baking sheet.
Dairy-Free Variation
Feel free to use ghee or 2-1/2 tablespoon coconut oil to make these cookies dairy-free. The dairy-free version is delicious because they have nice coconuty flavor! 
Tips and Tricks to rolling and cutting the dough
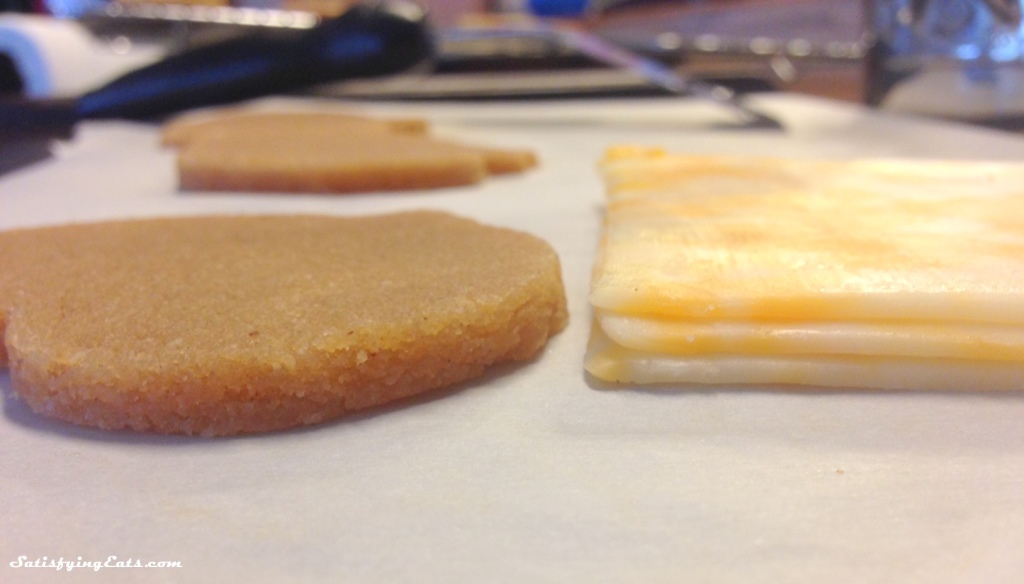
One of the keys to having a sturdy dough is #1, using granular or powdered sweeteners (and turning them into a fine powder if the crystals are bigger than salt) and #2, the thickness of the dough. I took this picture to give you a visual of how think to roll out your dough. I could say between 1/8 and 1/4 of an inch and to most people this would mean nothing so the measurement I am giving you is the thickness of 3 cheese slices OR roll your dough out into approximately a 9 X 7 inch oval. If you roll the cookies out too thin, #1, they will burn easier and #2, you will have MAJOR troubles moving them from your work surface to your parchment lined cookies sheet.
Another thing that helped keep the cookies intact while moving them to the baking sheet was rolling them out on parchment paper or even a silicon mat so that you can tear away the excess dough around the cookie cut out and then place your hand under the parchment paper to help peel the cookie off the bottom surface. This worked like a charm. You also may want to put your ball of dough in the fridge for 30 minute to help solidify the butter to make the dough stiffer. If your cookies don’t want to come up without tearing, simply use a small metal spatula and carefully move the cookie to your pan. This can distort your shape but it works.
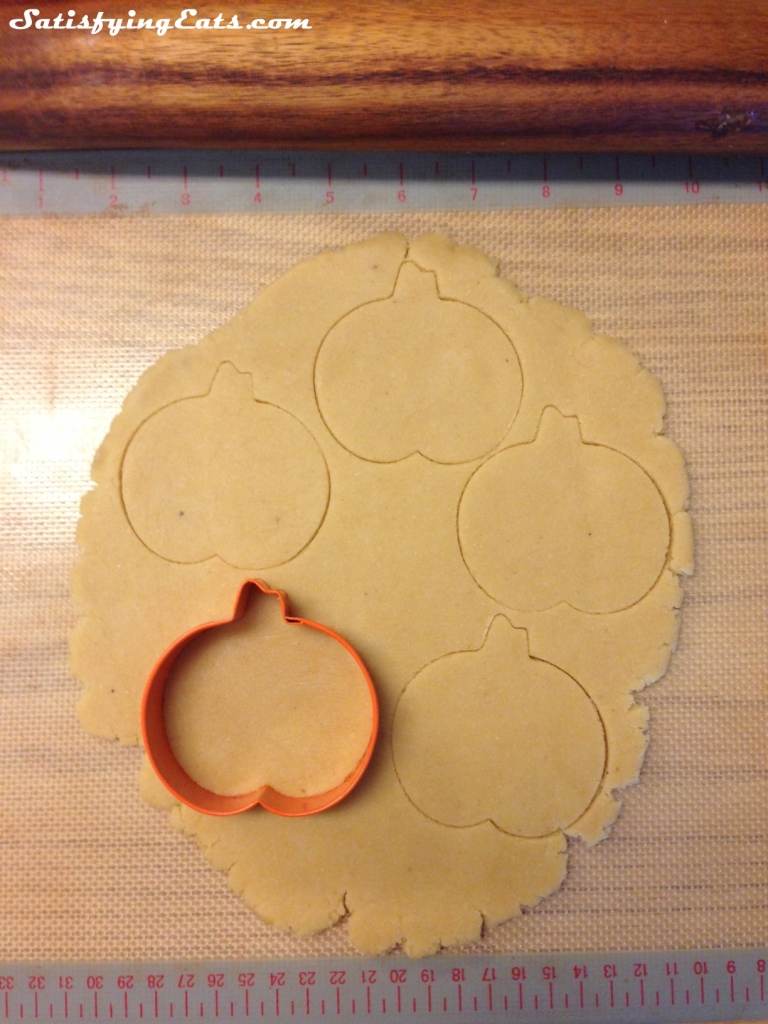 After you have cut out your shapes from your first “rolling,” ball up the extra dough and roll it out to the same thickness as the first cookies to ensure even cooking. Keep doing this until you run out of dough. You should get approximately 10 cookies.
Pan selection and Cooking Time
When baking, using a dark pan will cause the cookies to cook faster than if using a reflective pan. Cooking time will also vary based on the thickness of the cookie. Be sure to remove from oven when the edges just begin to show signs of turning brown.
Other Notes
What is a 1/2 of an egg?? I am not crazy but to get the perfect texture for this cookie, you only need 1/2 and egg or 2 tbsp. of beatened egg. I usually just beat a large egg and measure out 2 tbsp. If you plan on needing more than 10 cookies (and I am sure some of you will), just double the recipe and use a whole egg! Easy-peasy!
Also, this is one of a few recipes that I actually use arrowroot powder as an actual flour. I don’t use much but it really gives these cookies the right texture. One of the batches I made omitted the arrowroot powder. They were a little more soft but still delicious.
Need to get the ingredients to make these cookies? Be sure to check out my Starter Kits where you can purchase almond flour, coconut flour, arrowroot powder, stevia, raw cacao powder and Himalayan salt all at one great price! Check it out here!
Decoration & Add-in Ideas
The sky is the limit here but I’ll tell you what I did and then spill my brain to give you some more!
- Add 3/4 tsp. ground cinnamon and 3/4 tsp. pumpkin pie spice to the dough.
- Add 1/2 tsp. almond extract and 1/2 tsp. of vanilla.
- Drizzle with 80% or higher dark chocolate. (Check out this post for more of my chocolate recommendations.)
- Dip the entire cookie in dark chocolate.
- Dip the entire cookie in dark chocolate and top with nuts such as walnuts, pecans or almonds.
- Top one cookie with melted chocolate and then add another cookie to make like a Milano Pumpkin sandwich!
- Dip the bottom in chocolate and cover with finely shredded coconut (pictured below).
- Write your child’s and classmates’ name on the cookie with chocolate for a personalized treat!
- Cut little triangles out for the eyes and nose and cut a smiley face into the cookie BEFORE baking.

What other ideas do you have for decorating your cookies? Please share them in the comments section!
 My son’s favorite are the chocolate covered ones and I am excited about baking a big batch for my son’s school next week!
So, no matter what sweetener you use (as long as it is powdered or granular) or what decorations you put on them, these cookies will be a real winner for the holidays! I can’t wait to make Christmas cookies to give as gifts! I hope you enjoy and thanks for sharing!
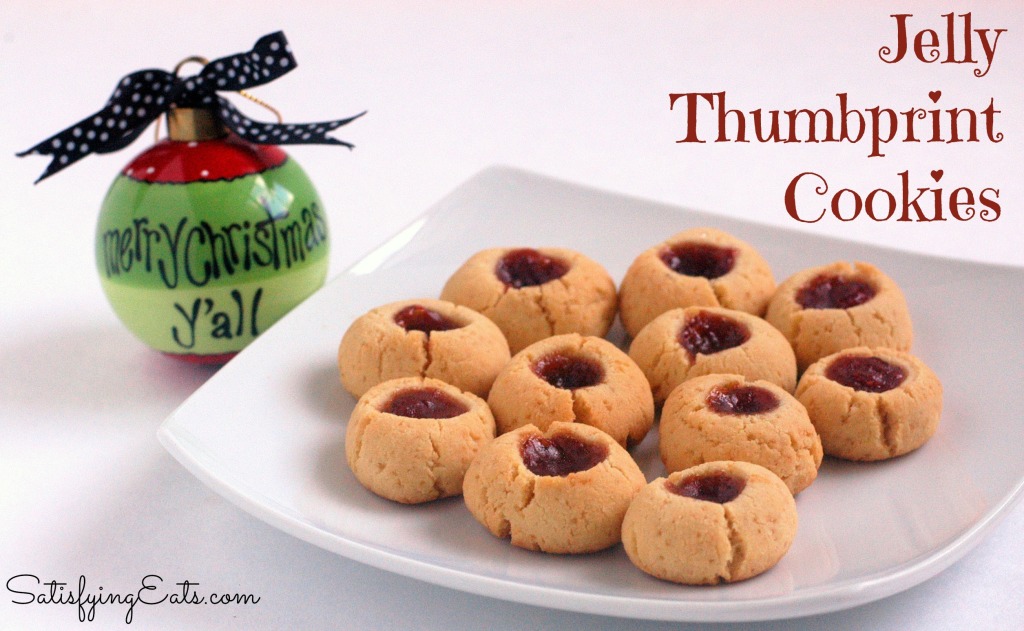 To make Jelly Thumbprint cookies
follow the directions below for the cookie dough. Using a heaping 2 teaspoons of dough, form into a ball and place on parchment lined cookie sheet. Using a 1/4 tsp. measuring spoon or thimble, make an indention in the cookie and then fill with all fruit preserves (I placed the preserves in a Ziploc bag and cut the tip off to fill the cookies). Bake at 350 degrees F. for 15-15 minutes or until the bottoms of the cookies are brown. Cool on wire racks. Makes about 35 cookies but this will vary based on the cookie size.
Makes 10 Cookies
- 1 cup almond flour (I use Honeyville)
- 2 tbsp. coconut flour (I use Tropical Traditions or Bob's Red Mill)
- 1 tbsp. arrowroot powder
- 1 tsp. baking powder
- Granular Sweetener (See "All about Sweeteners" in the notes above)
- 1/2 large egg, beaten or approximately 2 tbsp. of a beaten egg
- 3 tbsp. salted butter, room temperature
- 1 tsp. pure vanilla extract
- Optional: 3/4 tsp. pumpkin pie spice & 3/4 tsp. cinnamon
Preheat oven to 350 degrees F. Line the bottom of a cookie sheet with parchment paper (not wax paper) or a baking mat. In a medium bowl, blend the dry ingredients with a whisk until it is well mixed and there are no lumps. Add the remaining ingredients and blend with a wooden spoon until a stiff dough forms. Taste for sweetness and adjust if needed and then form the dough into a small disc. Refrigerate dough for up to 30 minutes while you prepare your rolling surface. This is not essential but will make the dough a little more sturdy and easier to work with.
Place a sheet of wax or parchment paper on your work surface. Place the disc of dough in the middle of the paper followed by a piece of plastic wrap on top. This ensures that the dough doesn't stick to your rolling pin. Then using a rolling pin, roll out the dough until it is approximately a 9X7 inch oval, ensuring the thickness is uniform throughout. Using your favorite cookie cutter (get the pumpkin one here), and starting at the edge of the dough, press the cutter into the dough and wiggle just a bit to release the cookie from the surrounding dough. Place the cookie cutter close to your first cookie and repeat. You should get 4-5 out of the first "rolling." Carefully remove the cookies and transfer to your prepared baking sheet. (See "Tips and Tricks to rolling and cutting the dough" above.) Gather the extra dough and repeat this process being sure to roll it out the same thickness as the first batch.
Bake for 12-15 minutes (being sure to check a 12 minutes) or until the edges just start to brown. Transfer to cooling rack and allow to cool. Decorate however you choose.
Store cookies in an airtight container. They should last at least 4-5 days, preferable stored in the refrigerator but they can also be stored on the counter.
- Nutrition per cookie without decorations using Stevia and 1 tbsp. of coconut sugar: 48 Calories, 4 grams of fat, 3 Total Carbs, .5 gram Fiber, 2.5 Net Carbs, .5 grams Protein
