
“Why did I not try this a long time ago???” This is what I have been telling myself since making my first batch of homemade coconut milk over a week ago. It can’t get any easier: hot water and coconut flakes (or chips from Tropical Tradition), blend, strain and Vualá!!! The stuff I had been purchasing in the can has never tasted great but I considered it to be my only option. It is also getting harder and harder to find canned coconut milk with only water and coconut as the ingredients and the price of $3-4 a can was breaking the bank!
Cost breakdown when making homemade coconut milk:
From 1 lb of Coconut Flakes (or chips) I can make approximately 12 cups (3 quarts) of coconut milk!! So that’s about $1.25 for 1 quart of homemade Coconut Milk (based on buying Tropical Traditions Chips with Free Shipping) and then you get the “shredded coconut” for free as a by-product! Even without free shipping, it will still cost you about $2 per quart!
Since giving up dairy and nut products a few weeks ago (I have introduced some nuts back but not almond milk), coconut milk has been my go-to for my protein shakes. My homemade coconut milk makes my shakes taste even better than before!!
I made quiet a few batches, experimenting with blend time and which type of blender to use.
Here is what I concluded:
- Using a Vitamix or small Magic Bullet worked best and produced more coconut cream.
- I used hot water out of the tap. If you have city water, I would use filtered water that has been boiled.
- Small batches yielded more coconut milk and cream and a finer coconut pulp.
- I haven’t figured out a way to keep the coconut milk from separating from the cream. I tried gelatin but that didn’t seem to work.
- Pour coconut milk into smaller containers to use so that you don’t have a large container of milk with all the cream hardened on top which you can’t really separate when ready to use unless you blend the entire batch. I just poured mine into pint jars and stored in the fridge.
- Freeze coconut milk in ice-cube trays while still warm and before cream hardens on top to use to make milk shakes.
- Homemade coconut milk is not like the thick stuff in the can. The cream will rise to the top and the watery “milk” will remain on bottom. Don’t expect a viscous milk. I am still trying to figure out how the manufactures do it besides adding thickeners.
Note: Tropical Traditions calls their large pieces of coconut “Chips” while Bob’s Red Mill and other brands call them “Flakes.” I have used both but mainly Tropical Traditions because they are on sale for $8.50 for 2.2lbs!
If you can get your hands on fresh coconuts, you can use the fresh meat of the coconut as well!
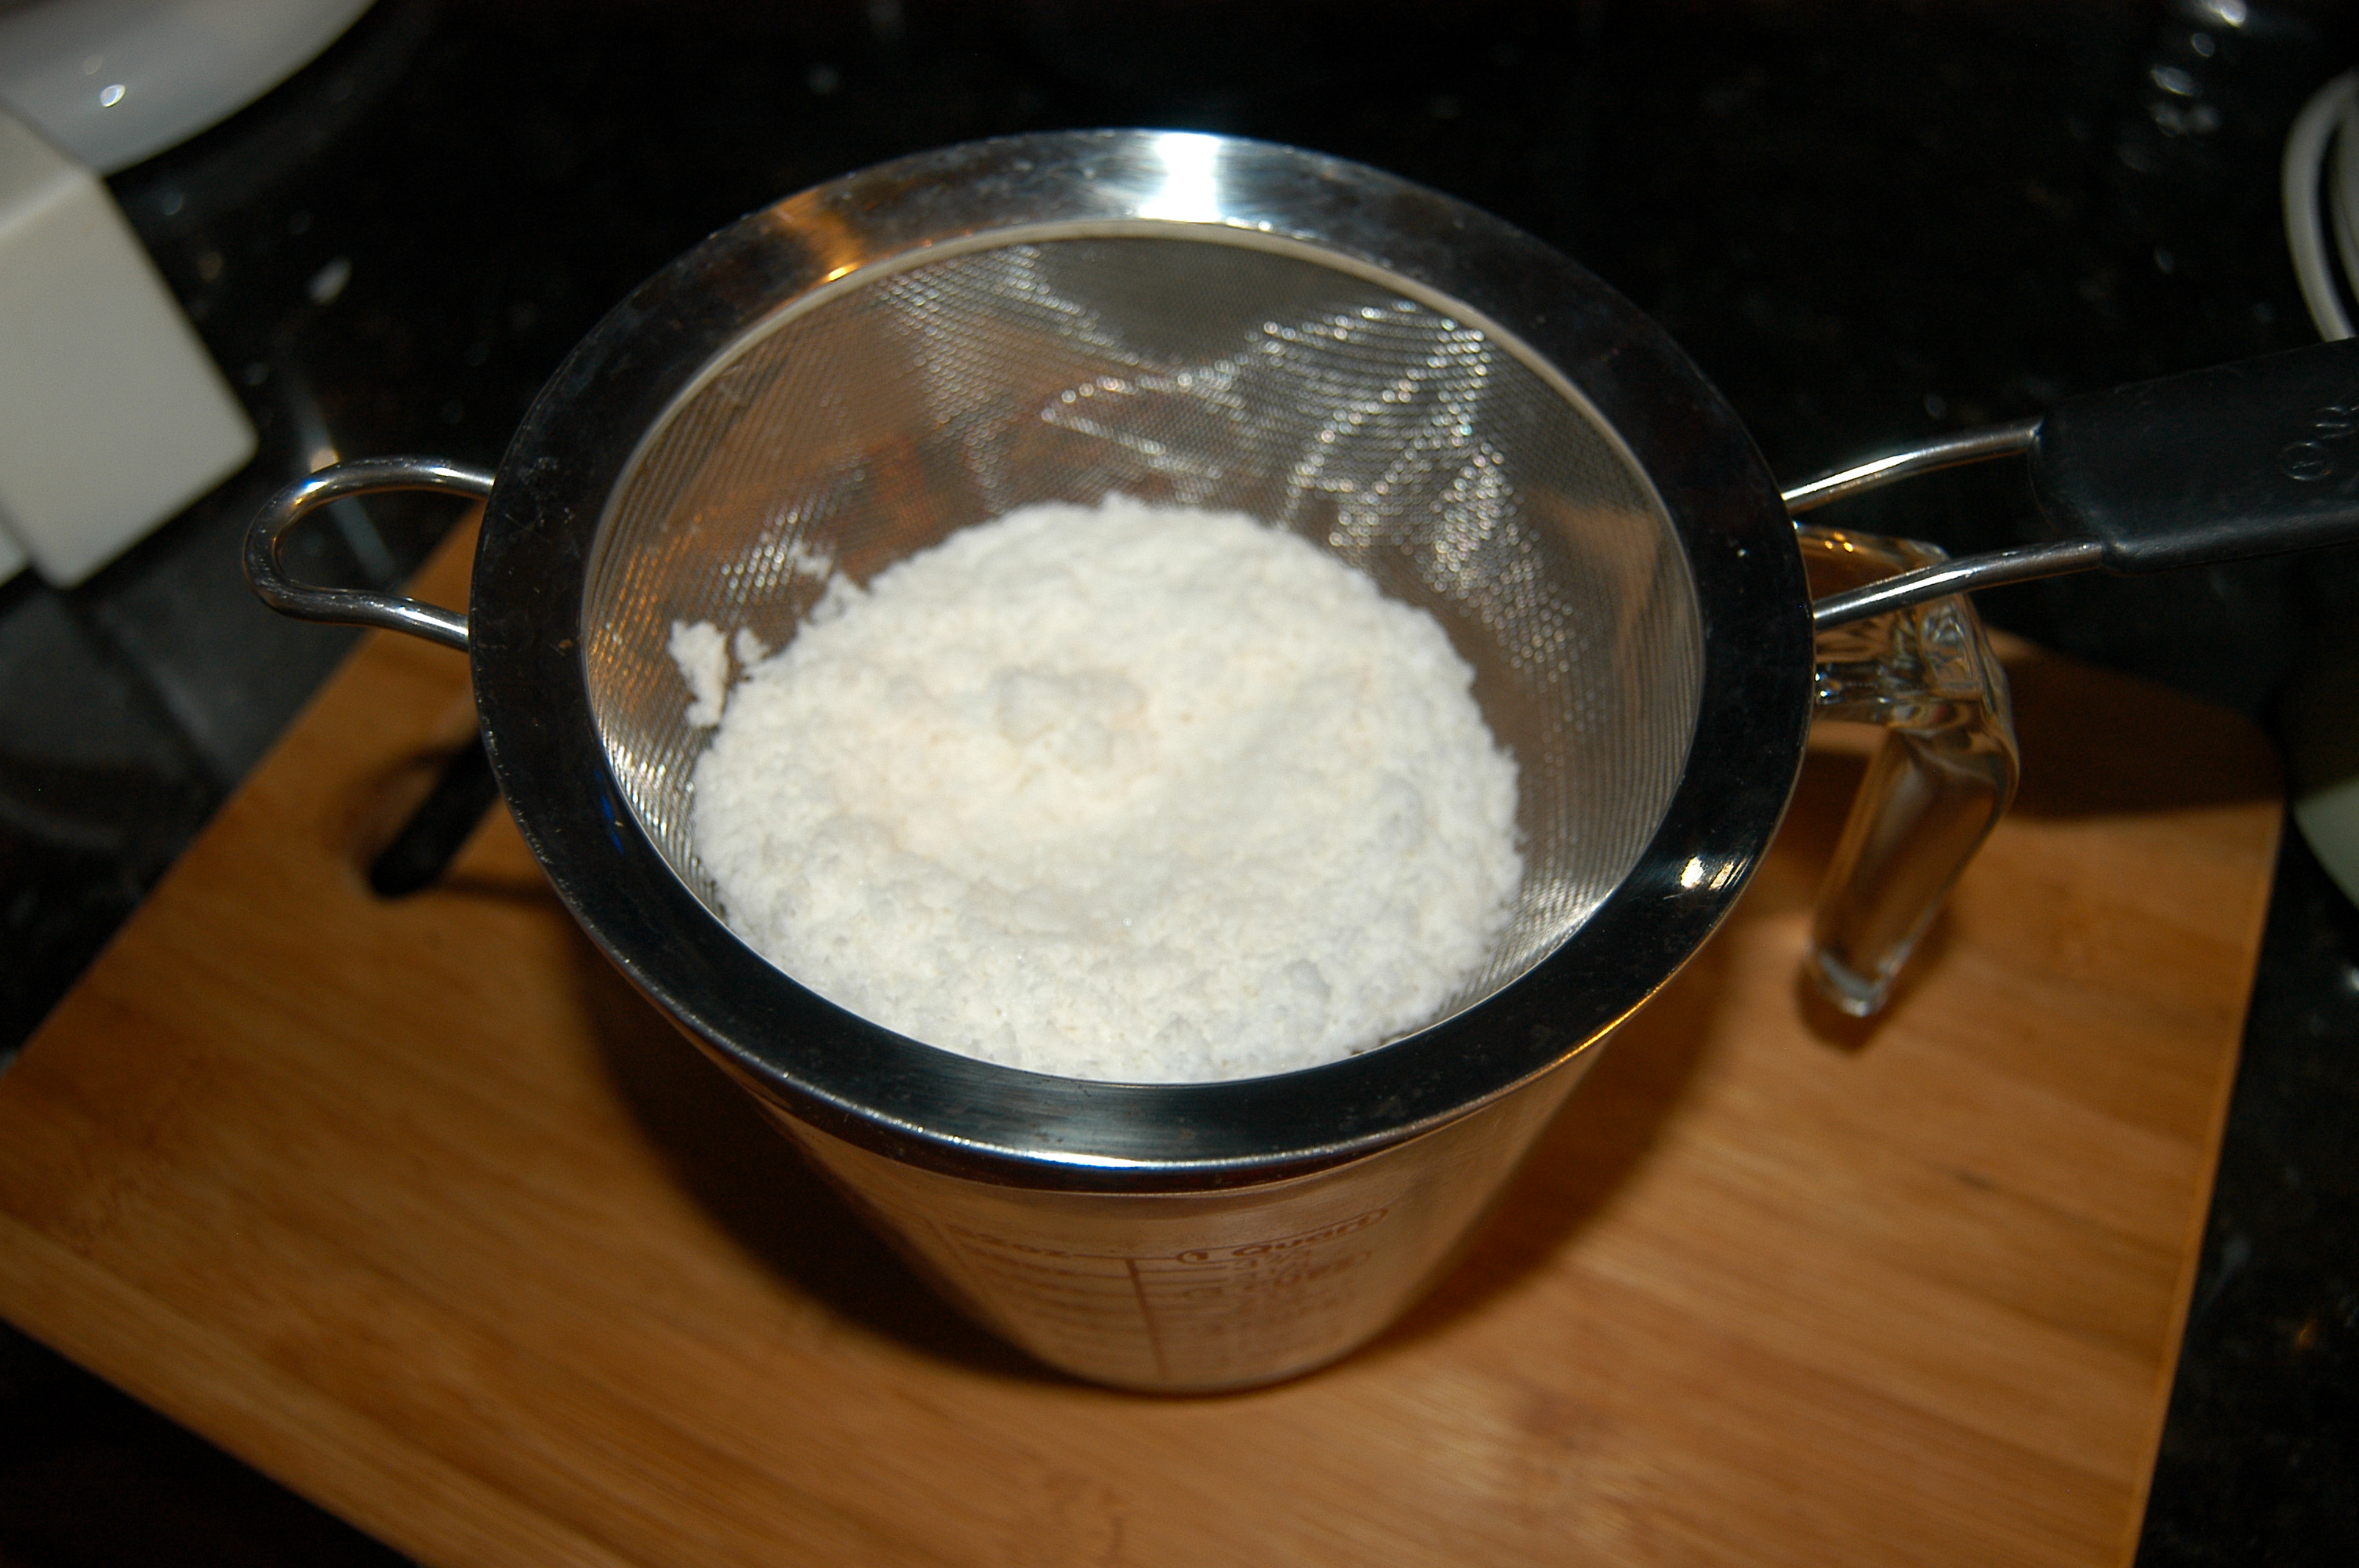
Straining coconut milk through mesh strainer

Comparing the amount of coconut milk and cream yield. The only difference was blend time.

Leftover coconut pulp or shredded coconut.

Leftover pulp going in oven to dry out.
Homemade Coconut Milk
Makes 1.5 cups
1 cup (around 2 oz by weight) unsweetened coconut flakes (or Tropical Traditions coconut chips)
1 cup hot (or boiling) water
1/2 cup hot (or boiling) water
Directions
Using Blender, Vitamix or Magic Bullet, add coconut and first 1 cup of hot water. Blend for a minimum of 2 minutes and as much as 3. Place mesh strainer over bowl to collect milk. Pour coconut and water slurry into strainer and allow milk to drip into bowl. Use spoon to press coconut pulp to extract all of milk.
Return pulp to blender and add 1/2 of hot water. Blend for another 1-2 minutes and strain. Pour into pint jar or ice-cube trays. Last 3-4 days in the fridge.
Before drinking, blend cooled coconut milk to mix the cream back in with the milk.
What to do with the leftover coconut pulp?
Pre-heat oven to 250 degrees F. Line cookie sheet with parchment paper. Spread coconut pulp over parchment in a thin layer. Bake for 1 hour then stir and spread coconut back into a thin layer. Place back into oven then turn off oven. Let set in oven night. Check to see if coconut is completely dried out, if not, bake for another hour at 250 degrees F.
Uses For Pulp
Use in the place of panko bread crumbs when frying something (I have used it to make coconut shrimp).
Use in the place of shredded coconut in recipes. I have a Coconut Macaroon recipe coming up soon.
Uses for Coconut Milk
Use this milk in the place of almond or regular milk in any of my shake recipes. I will be experimenting this week using it in my Birthday Cake recipe (the dairy-free version which is also my favorite).
Check out my Chocolate, Vanilla and Strawberry Milk Recipes!

Note: Many of the links contained in this post are Affiliate Links. If you purchase through the links provided, I will receive a small (very small) commission which I used to buy more ingredients to create more recipes. I have chosen these products not to receive a commission but because I think they are the best on the market. Thank you for your support!

